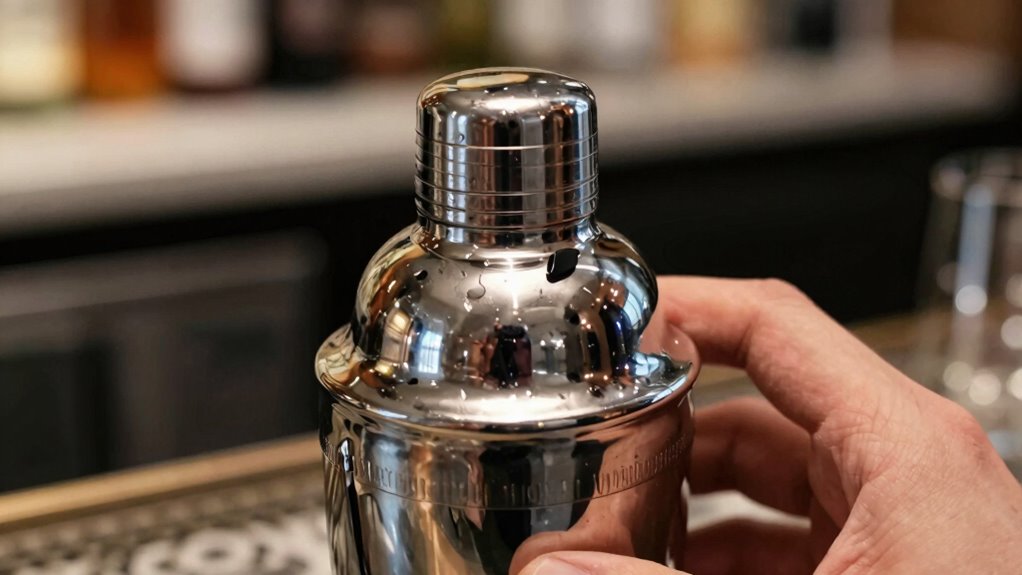

If your cocktail shaker is stuck, try applying gentle heat or cold to loosen it without breaking it. Immerse the shaker briefly in warm water or ice water—avoid hot extremes—then gently twist or tap around the lid to break the seal. Using household tools like rubber gloves or a wooden spoon can help. Be patient and avoid excessive force; if you’d like to discover more effective tips, keep exploring for solutions.
Key Takeaways
- Apply gentle heat by immersing the shaker in warm water to expand metal and ease the lid without causing damage.
- Use cold shock by submerging the shaker briefly in ice water to contract metal and loosen the seal.
- Tap gently around the rim with a soft object or wooden spoon to break the vacuum seal safely.
- Use rubber gloves for a better grip and apply even, gentle pressure around the lid to avoid breaking the shaker.
- Let the shaker sit for 10-15 minutes after soaking or cooling before attempting to open, preventing forceful damage.

FineDine 10-Piece Cocktail Shaker Set with Travel Bag – Stainless Steel Shaker Set Bartender Kit – Mixology Bartender Kit – Strainer, Muddler, Jigger, Bar Spoon, Bottle Opener, Pour Spouts – Bar Set
10-PIECE SET – All you need to achieve a perfect cocktail. Includes a 26 oz shaker with a…
As an affiliate, we earn on qualifying purchases.
As an affiliate, we earn on qualifying purchases.
Why Does Your Cocktail Shaker Get Stuck?
Sure! Here’s the revised content with the requested additions:
—
Sometimes, your cocktail shaker gets stuck because the mixture inside creates a tight seal as it cools or because the ingredients cause the metal to contract slightly. This is common when you use certain mixing techniques or don’t maintain your shaker properly. Over time, residue builds up, or the metal contracts from temperature changes, making the lid hard to open. Proper shaker maintenance, like regular cleaning and ensuring components are dry and free of residue, helps prevent sticking. Cable failures can also occur in other kitchen gadgets if not properly maintained. Additionally, understanding AI trends in kitchen gadgets can lead to innovative solutions for common problems like this. To enhance your mixing experience, consider the importance of cycling skills that can improve your hand coordination and technique. Avoid overfilling or forcing the lid, which can damage the seal. Understanding how mixing techniques influence pressure and seal formation can help you open your shaker smoothly. Furthermore, incorporating UBI debates into your perspective on kitchen technology could provide insights into how innovation shapes everyday tools. Keeping your shaker in good condition and practicing careful mixing techniques reduces the chances of it getting stuck. Additionally, always research companies before purchasing kitchen gadgets to ensure quality and reliability.
—
Let me know if you need any adjustments or further assistance!
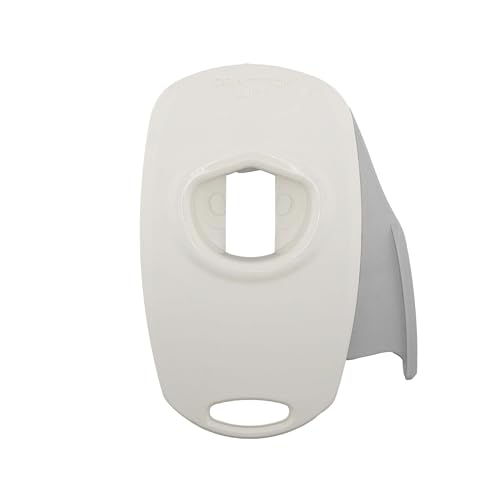
Lift Universal Topless Can Opener – Smooth Edge Aluminum Can Lid Remover For Beer, Cocktails, & Soda – Ideal For Tailgating & Garnishes, As Seen On Shark Tank, Made In china , Ghost White
Transform Your Drinking Experience: Featuring a sleek white design made from durable ABS plastic and stainless steel; the…
As an affiliate, we earn on qualifying purchases.
As an affiliate, we earn on qualifying purchases.
How to Diagnose the Cause of a Jammed Shaker Lid
When your shaker lid refuses to budge, figuring out what’s causing the jam is the first step to fixing it without damage. Start by inspecting for ingredient substitutions that might have caused a sticky residue, making the lid stick. Check if excess liquid or syrup has pooled around the seal, creating a vacuum or bond. Verify there’s no debris or buildup in the threads, which can hinder movement. Additionally, be mindful that water chemistry can affect the consistency of certain ingredients used in cocktails. Finally, consider if the lid is misaligned or warped, preventing smooth removal. To troubleshoot, you can try gently twisting the lid to identify resistance points. Keep in mind, if you’re using garnishes, like fruit or herbs, they might have shifted and stuck, adding to the jam. Proper diagnosis helps avoid unnecessary force and preserves your shaker’s integrity. Additionally, be aware that certain ingredients, like high-fat content, can create a sticky mess that complicates cleanup. Understanding digital concepts can also provide insights into the types of materials that might lead to such issues. It’s crucial to remember that just like pinball machines, the design of your shaker can affect its functionality and ease of use. Always ensure that your shaker is properly maintained to prevent similar problems in the future.

Rubber Cleaning Gloves for Dishwashing, 4 Pairs Reusable Kitchen Gloves for Washing Dishes and Household Cleaning, Colorful Dish Gloves with Flocked Lining and Non-Slip Grip, Pefect for Woman Men – M
Your Reliable Cleaning Companion: Our cleaning gloves are made of premium, skin-friendly natural rubber. Whether you're washing dishes…
As an affiliate, we earn on qualifying purchases.
As an affiliate, we earn on qualifying purchases.
Simple Ways to Loosen a Jammed Shaker Lid
To loosen a stuck shaker lid, try soaking it in warm water for a few minutes to expand the metal slightly. You can also gently tap around the lid with a soft object, like a rubber spatula or wooden spoon, to break the seal. These simple tricks often do the job without causing any damage. Additionally, ensuring proper calibration of your shaker can prevent future jams by maintaining optimal performance. Understanding the regional flavors of coffee and tea can also inspire creative cocktail pairings that make your mixing experience even more enjoyable. Exploring cultural festivals can also provide inspiration for unique ingredient combinations that enhance your cocktails. Using essential oils like peppermint oil during cocktail preparation can invigorate your senses and elevate the overall experience. To enhance your mixing skills, consider adding top car protection accessories that keep your tools and ingredients safe and sound.
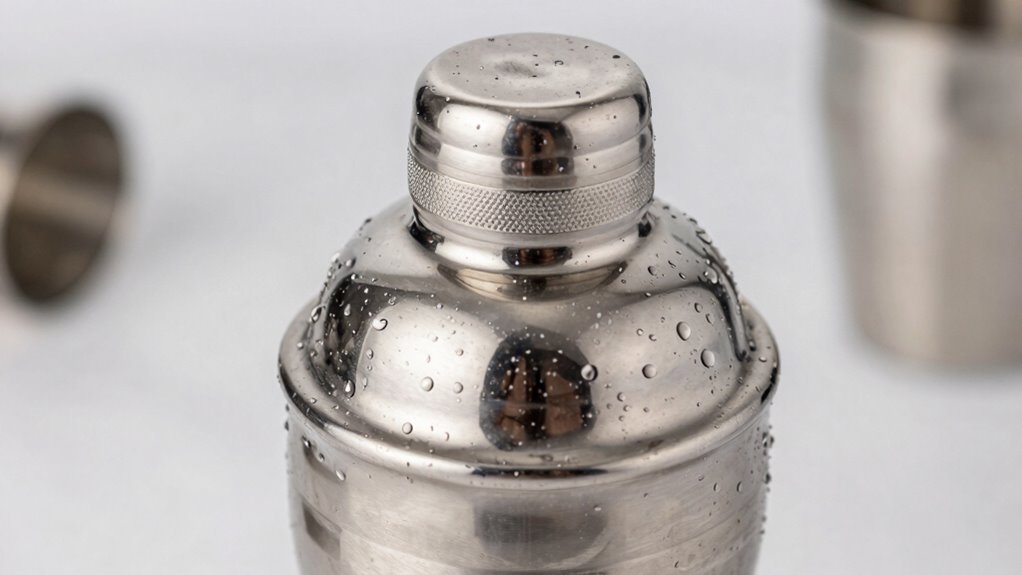
Warm Water Soak
A simple and effective way to loosen a jammed shaker lid is to soak it in warm water. Fill a basin with warm water, ensuring it covers the lid completely. This helps loosen any sticky residue and can ease the tight fit caused by shaker material differences. While soaking:
- Check for creative cocktail names written on the shaker or lid, as ink may have caused sticking.
- Consider shaker material differences—metal, glass, or plastic—since each responds differently to water; metal often expands slightly, aiding removal. Incorporating eco-friendly practices in your kitchen can also enhance your cooking experience and promote nutritional benefits that support your well-being. Additionally, using high-quality materials in your kitchen tools can help prevent these issues from occurring in the first place. Notably, using materials that reflect the artistry of Indonesian decor masks can add a unique touch to your kitchen ambiance.
- Let it soak for about 10-15 minutes to weaken any adhered substances.
- After soaking, gently twist or lift the lid, being mindful of the shaker’s design to prevent damage.
This method offers a simple, safe solution without risking breakage. Additionally, understanding DIY tool safety tips can enhance your overall experience while working with kitchen gadgets.
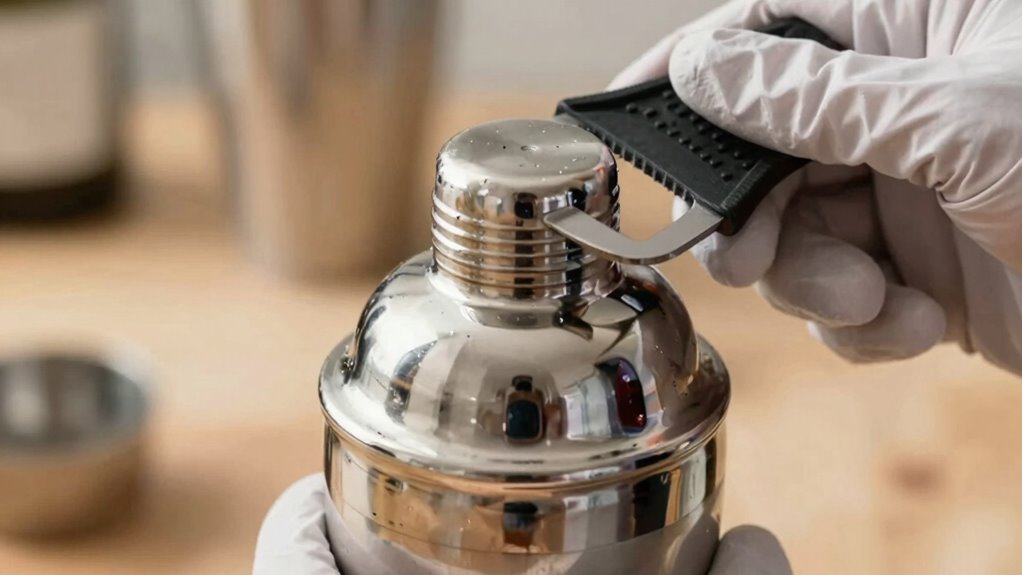
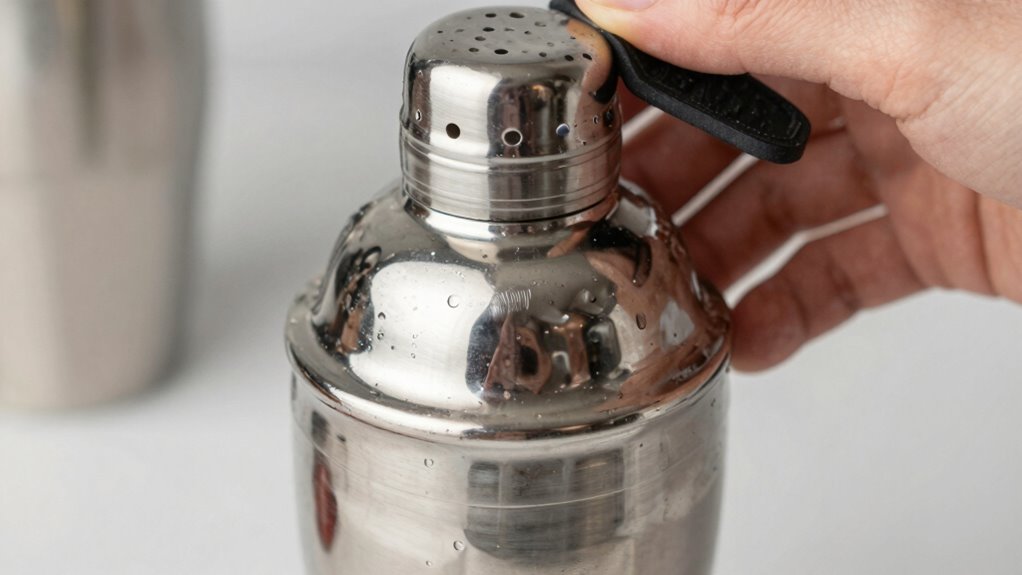
Use Gentle Taps
Sometimes, the simplest solution is the most effective—gently tapping the shaker can help loosen a stuck lid without causing damage. Use light taps around the edge of the shaker, avoiding excessive force that might damage the shaker material. This method respects cocktail etiquette by preventing spills or breakage during service. Different shaker materials, like stainless steel or glass, respond best to gentle taps, so be mindful of the type you’re handling. To make it easier, try the following:
| Tip | Explanation |
|---|---|
| Tapping edges | Focus on the perimeter to loosen the lid. |
| Use a cloth | Protect your hand and the shaker from slipping. |
| Consistent light taps | Prevent damage and encourage gradual loosening. |
| Rotate while tapping | Helps dislodge stubborn lids. |
| Patience | Avoid rushing to prevent breakage. |
Gentle taps are effective and safe for most shakers. Additionally, understanding the importance of early socialization and training can enhance your overall cocktail experience by ensuring that your guests are comfortable and well-behaved.

6 Piece Small Wooden Spoons Set – Premium Beech Wood Spoons in 3 Sizes (4.9", 5.9", 7.1") for Honey, Tea, Coffee, Multi-Purpose Mini Teaspoons Utensils for Ice Cream and Soup
TOP NOTCH CRAFTSMANSHIP: Wooden spoons are made from natural solid beech wood. Each spoon is carefully hand sanded…
As an affiliate, we earn on qualifying purchases.
As an affiliate, we earn on qualifying purchases.
Using Temperature Changes to Free Your Shaker
Applying temperature changes can help loosen a stuck shaker lid. The cold shock technique involves briefly cooling the shaker to contract the metal, while the warm water method uses heat to expand it. Both methods can make unscrewing easier without risking damage.
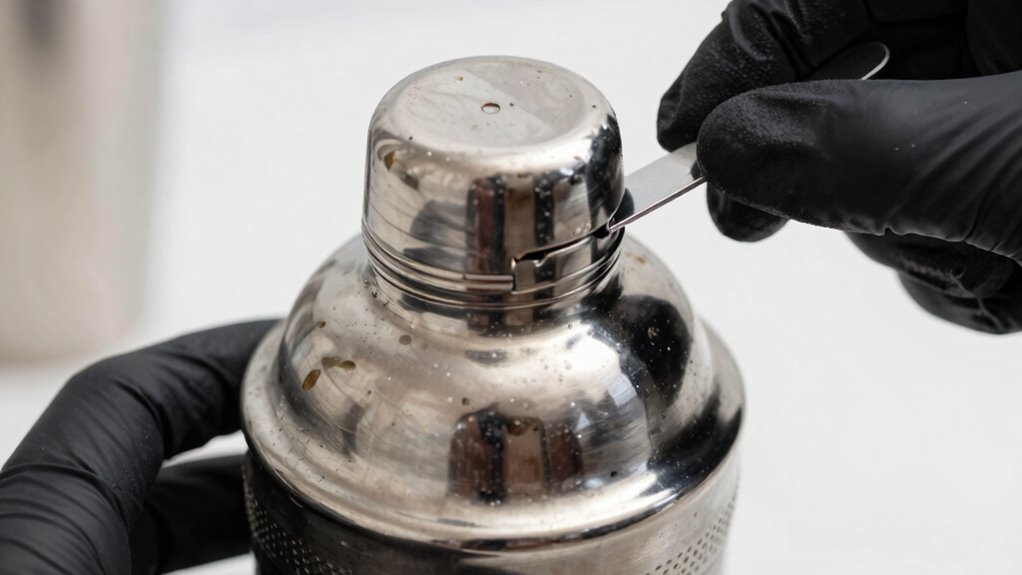
Cold Shock Technique
When a cocktail shaker gets stuck, quickly changing its temperature can help loosen it without damage. The Cold Shock Technique involves applying sudden temperature changes to contract the metal and release the seal. To do this effectively:
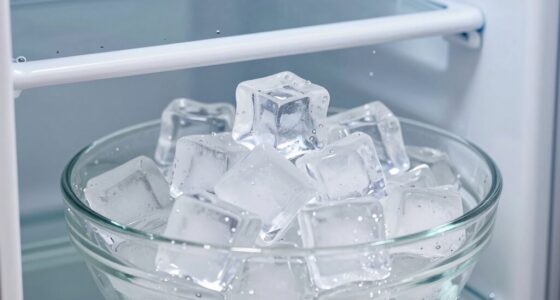
- Fill a sink with ice and cold water.
- Submerge the stuck shaker for about 30 seconds.
- Gently tap around the rim to enhance contraction.
- Carefully try to twist the shaker open.
This method promotes glassware care and prevents cracks, especially with delicate parts. Using a smart thermostat can help maintain optimal temperature control in your kitchen, enhancing the overall experience. Use these mixology tips to avoid forceful pulling, which can cause damage. The rapid temperature change causes the metal to contract slightly, easing the seal without risking breakage. Additionally, ensuring power quality is maintained in your kitchen can enhance the overall experience. Always work gently to preserve your shaker’s longevity and ensure smooth mixing every time. Additionally, having a strong support network can be beneficial for anyone facing challenges in the kitchen.
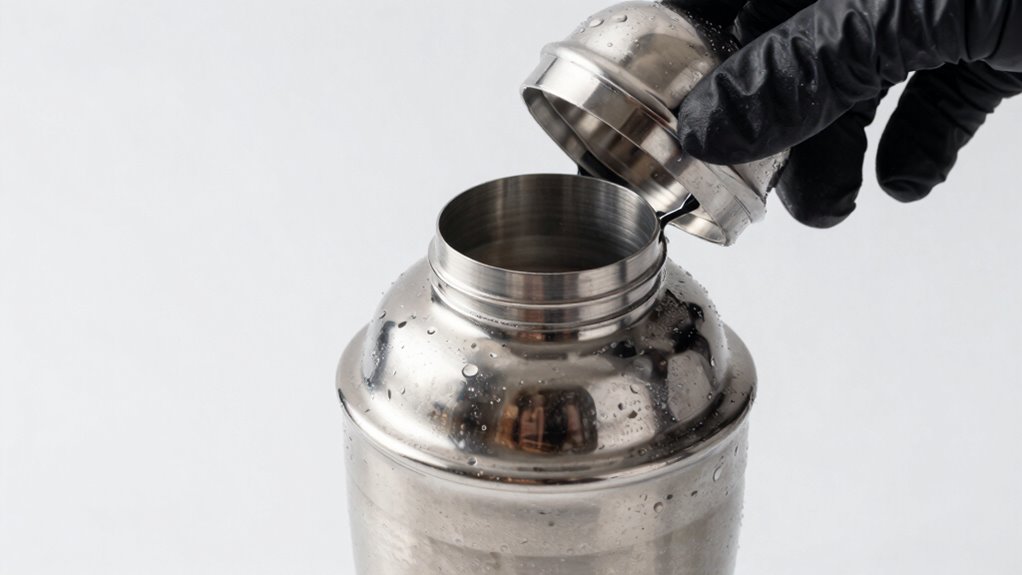
Warm Water Method
If your shaker is stuck, introducing warm water can help expand the metal and break the seal. Fill a basin with warm water—not hot—and immerse the shaker for a few minutes. The gentle temperature change causes the metal to expand slightly, easing the stuck parts apart. Use your mixing techniques to hold the shaker firmly but carefully, avoiding excessive force that could damage it. While waiting, check that your ingredient ratios are correct for your cocktail, as improper ratios can cause residue buildup, making the shaker stick. Once heated, gently twist and pull the shaker apart. The temperature difference creates enough expansion to free it without risking breakage, making this method effective and safe. Additionally, this technique mirrors principles found in thermal expansion in materials, which can be applied in various contexts, including sports tech.
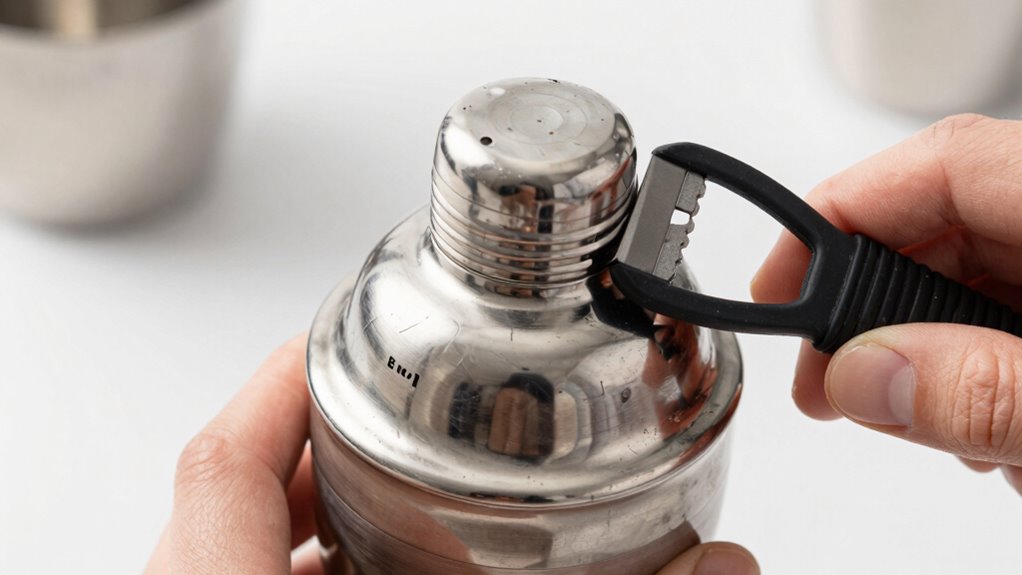
Gently Leveraging Your Shaker Without Breaking It
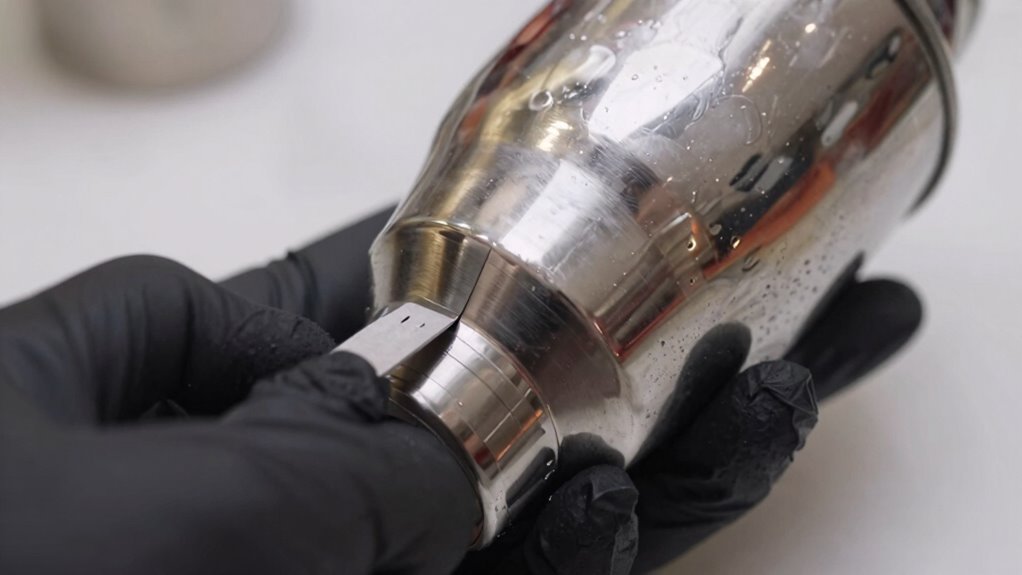
To avoid breaking your shaker, it’s essential to leverage it gently rather than forcing it apart. Use your hand to carefully apply even pressure around the seam, preventing undue stress. Consider these steps:
- Position your fingers around the lid, applying gentle, steady pressure.
- Slightly tilt the shaker back and forth to loosen the seal gradually.
- If resistance persists, tap the sides lightly to break any suction.
- Once loosened, clean and dry the shaker thoroughly before storing to prevent sticking during creative mixing sessions.
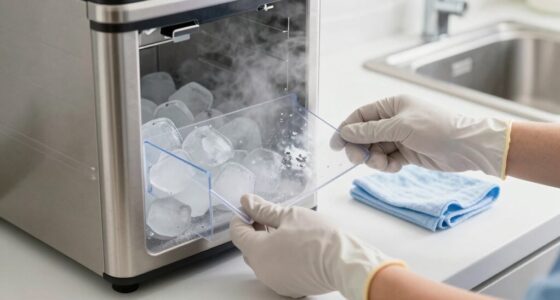
Tools and Household Items to Help Unstick Your Shaker
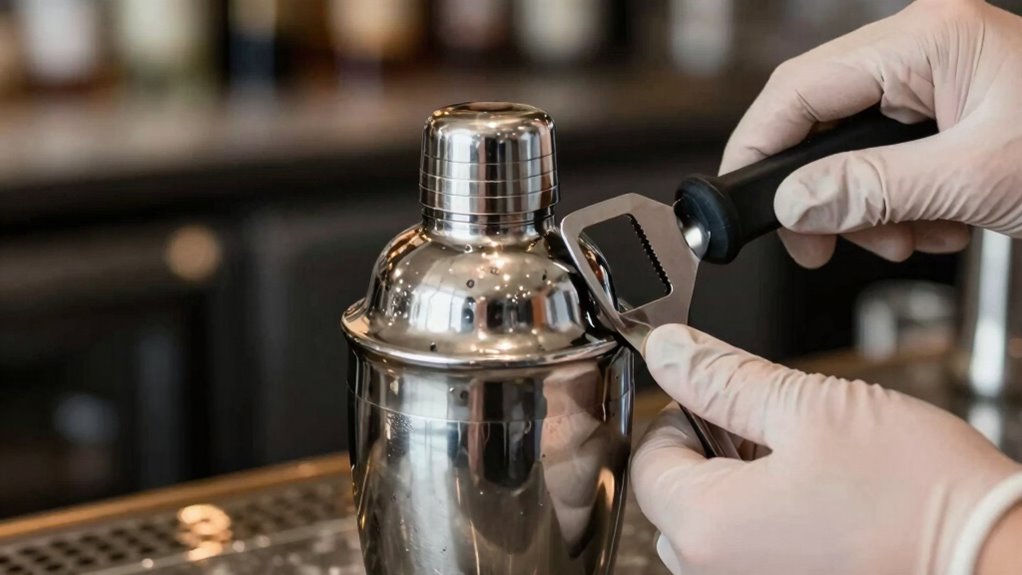
Using common household items can make unstick your shaker safer and easier. For example, rubber gloves improve grip, reducing the risk of breakage. Running warm water over the metal parts helps expand the metal slightly, making it easier to open. A wooden spoon can serve as a gentle pry tool—just be careful not to damage the shaker. If you’re experimenting with creative cocktail recipes, you’ll want to keep your shaker intact, so these tools come in handy. Additionally, a bit of dish soap or vinegar can assist with shaker cleaning tips, loosening stubborn seals or residue that cause sticking. Always handle your shaker gently, and these household items will help you open it without damage, keeping your mixology safe and fun.
Common Mistakes to Avoid When Opening a Stuck Shaker

One common mistake is applying excessive force, which can easily cause the shaker to break or warp. Instead, consider how ingredient variations and shaker material influence your approach. For example:
- Ignoring the shaker material—metal shakers require different techniques than glass or plastic ones to prevent damage.
- Forcing the lid open—this risks damaging the threads or warping the shaker.
- Using a blunt tool—avoid tools that may scratch or crack the surface, especially with delicate ingredient layers.
- Overlooking temperature differences—warming or chilling the shaker can help loosen stuck parts without undue force.
Being mindful of these mistakes helps you avoid damage, especially considering the shaker’s material and ingredients inside, ensuring a safe, effective unstick process.
How to Prevent Your Shaker From Sticking in the Future
Preventing your shaker from sticking starts with proper maintenance and handling. Regularly clean your shaker thoroughly after each use, ensuring no residue or sticky ingredients remain. Dry it completely to prevent moisture buildup, which can cause sticking over time. Incorporate shaker maintenance tips like lightly oiling the seal with a food-safe lubricant if needed, but avoid overdoing it. To keep things fresh, experiment with creative cocktail ideas that use ingredients less likely to cause sticking, such as clear spirits and non-viscous mixers. Always handle your shaker gently, avoiding excessive force when sealing or opening. By maintaining your shaker well and choosing ingredients wisely, you’ll reduce the chances of sticking and enjoy smooth, hassle-free cocktail mixing every time.
Troubleshooting Persistent Sticking Problems
When your cocktail shaker stubbornly sticks despite proper maintenance, it’s time to troubleshoot the underlying causes. First, check the glass durability; if the glass is thin or aged, it’s more prone to sticking due to surface imperfections. Second, inspect for material corrosion, especially around the seal or joints, which can cause sticking and affect the shaker’s smooth operation. Third, verify that the gasket or seal isn’t damaged or warped, as this can create a vacuum, making it hard to open. Finally, consider environmental factors like humidity, which can accelerate corrosion or cause residues to build up, increasing the chance of sticking. Addressing these issues helps preserve your shaker’s functionality and longevity, preventing future sticking problems.
Frequently Asked Questions
Can I Use Lubricant on My Cocktail Shaker to Prevent Sticking?
Using lubricant on your cocktail shaker isn’t recommended for shaker maintenance because it can affect the shaker’s safety and your drink’s taste. Instead, you should clean and dry your shaker thoroughly to prevent sticking. If it’s stubborn, try warming it slightly or adding a bit of soap and water. Always prioritize lubricant safety and avoid any substances that aren’t food-safe to keep your shaker in good shape.
Is It Safe to Use a Hammer to Loosen a Stuck Shaker?
Using a hammer to loosen a stuck shaker isn’t safe; it’s like trying to break a diamond with a sledgehammer! Instead, explore alternative methods and DIY solutions like warm water, gentle tapping, or silicone spray. These methods are safe, effective, and won’t turn your shaker into a pile of broken pieces. Keep your tools intact and your drinks flowing smoothly by avoiding harsh methods and opting for smarter, safer techniques.
How Often Should I Clean My Shaker to Avoid Sticking?
You should clean your shaker after every use to prevent sticking and guarantee proper maintenance. Regular cleaning removes residue, sticky sugar, and citrus oils that can cause parts to stick together. For ideal cleaning frequency, wash it thoroughly with warm soapy water, dry it completely, and sometimes use a vinegar solution for stubborn buildup. Proper maintenance keeps your shaker in top condition, making it easier to open and prolonging its lifespan.
Are There Specific Materials That Resist Sticking Better?
You’ll find stainless steel shakers resist sticking better due to their durability and smooth surface coatings, making them easier to clean and less prone to residue buildup. Conversely, glass shakers, though elegant, may be more prone to sticking because of their textured surfaces. Choosing materials with high durability and non-stick coatings enhances your experience, ensuring your shaker remains functional, easy to clean, and less likely to stick over time.
Can Overfilling Cause My Shaker to Get Stuck?
Yes, overfilling your shaker can cause it to get stuck, especially if the mixture expands or creates a tight seal. To prevent this, practice good shaker maintenance by not overfilling and ensuring the parts fit well. Proper storage also helps; keep your shaker in a dry, cool place to avoid rust or sticking. This way, you’ll make opening and closing it easier and extend its lifespan.
Conclusion
Next time your shaker refuses to budge, imagine it as a stubborn gate, resisting your gentle push. With patience, a touch of warmth, or a careful pry, you can coax it open without damage. Think of your efforts as a dance — delicate yet determined — gradually freeing your trusty tool from its icy or sticky grip. Soon, you’ll be back to shaking cocktails, confident in your ability to handle even the most stubborn shakers with grace.