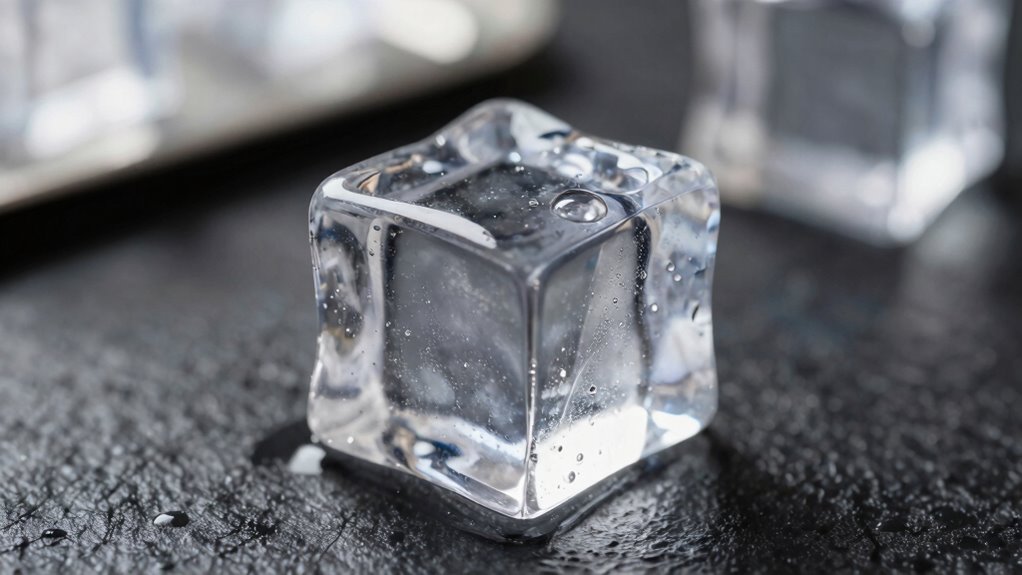

To make clear ice at home without fancy equipment, use pure, boiled or filtered water to minimize impurities and air bubbles. Fill a mold almost completely, leaving room for expansion, then slowly freeze it in a cooler or insulated box to control the process. Keep the ice undisturbed until fully frozen. With patience and proper techniques, you’ll get stunning clear blocks—stay with us to find out more tips!
Key Takeaways
- Use purified or boiled water, cooled before pouring to reduce air bubbles and impurities.
- Freeze the water slowly in a regular freezer or insulated cooler to promote clarity.
- Fill molds carefully, avoiding overfilling and air bubbles, and leave space for expansion.
- Keep the ice undisturbed during freezing and remove it once the top is solid but interior is still liquid.
- Store the clear ice in airtight containers to prevent cloudiness and absorb odors.

Clear Ice Cube Tray for Whiskey: FDDBI 2Inch Clear Ice Cube Maker – Silicone Large Ice Cube Tray – Square Ice Tray for Bourbon Old Fashioned Whisky
CRYSTAL CLEAR ICE CUBE TRAY: Clear ice cube maker uses innovative directional freezing technology. The foam insulation box…
As an affiliate, we earn on qualifying purchases.
As an affiliate, we earn on qualifying purchases.
What Materials Do You Need to Make Clear Ice
To make clear ice at home, you’ll need a few essential materials. First, grab some reusable molds designed for ice; these help shape your ice and reduce impurities. For a more artistic touch, consider using an ice sculpture mold to create intricate designs. You’ll also need a freezer and access to clean, filtered water—using filtered water minimizes cloudiness. A small container or tray to catch overflow during freezing can be helpful. If you want to enhance clarity, some people use directional freezing techniques, so having a sturdy container that can withstand freezing is useful. Additionally, using high-quality water can significantly improve the clarity of your ice. The process of creating clear ice can be compared to the way robot mowers operate, utilizing optimal conditions to achieve the best results. Embracing inclusive standards in your ice-making methods can also yield aesthetically pleasing results. Ultimately, a knife or chisel can come in handy for trimming or shaping your ice once frozen. Additionally, understanding real-world applications of chemistry can enhance your approach to crafting beautiful ice creations at home. Exploring digital content formats can also inspire creative ways to showcase your ice creations. These basic materials set you up for successful, clear, and beautiful ice creations at home.

Igloo Large Maxcold Ice Block, Reusable, 2-Pack, Long Lasting, Freezer Pack for Coolers
Non-toxic Ultratherm gel delivers extended cooling performance
As an affiliate, we earn on qualifying purchases.
As an affiliate, we earn on qualifying purchases.
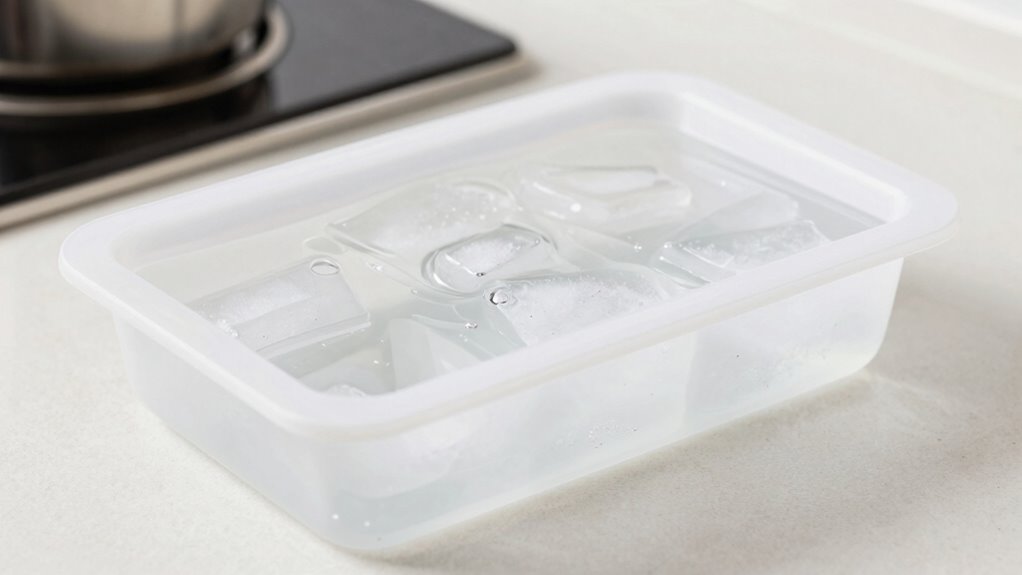
How to Freeze Clear Ice at Home
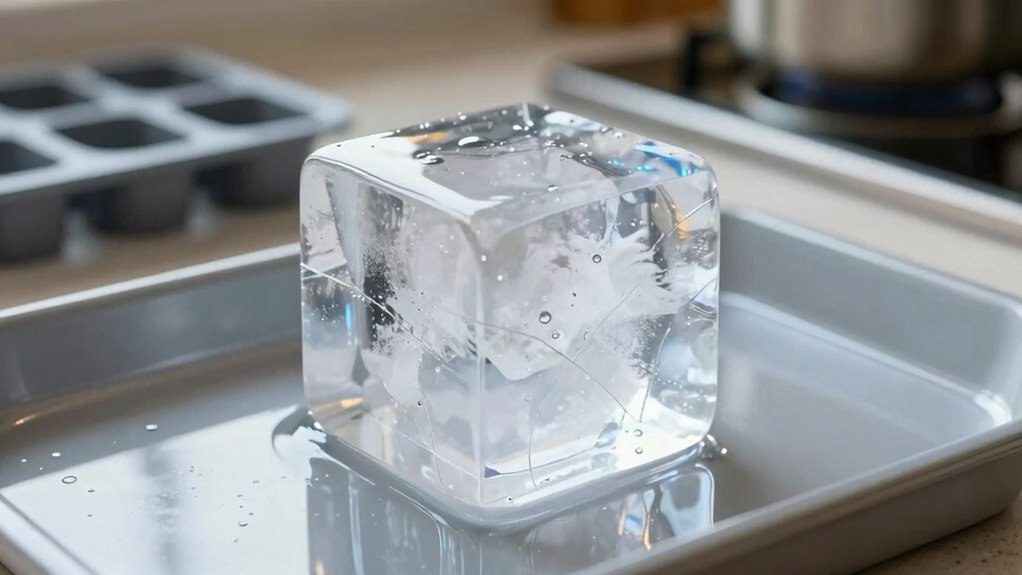
Freezing clear ice at home requires a controlled approach to guarantee maximum clarity. To achieve this, fill your container almost completely, leaving space for expansion. Use a cooler or insulated box to slow the freezing process, which minimizes trapped air and impurities, making your ice suitable for enhancing beverage presentation. This method produces large, crystal-clear blocks ideal for ice sculpting or enhancing beverage presentation. Additionally, using proper ice storage techniques can further enhance the quality of your ice. Keep the container in your freezer, ensuring it stays upright. Check periodically; once the top is frozen solid but the inside remains liquid, remove it. This prevents cloudiness caused by trapped gases. For best results, insulate the sides with towels, as media literacy helps you discern quality in ice and other products. Incorporating decorative wall art can elevate the overall aesthetic of your serving area. Here’s a quick overview:
| Step | Tip | Result |
|---|---|---|
| Use insulated container | Prevents uneven freezing | Clear, solid ice block |
| Freeze slowly | Controls impurities and bubbles | Transparency in ice |
| Remove before complete | Stops trapped gases from forming | Crystal clarity |
| Keep upright | Maintains shape | Better aesthetic |
| Store properly | Avoid cloudiness from freezer burn | Perfect for ice sculpting, beverage presentation |
It’s important to note that the method of slow freezing is key to achieving the best results.
Reusable Ice Cubes for Drinks, 20 Pack Refreezable Plastic Ice Cubes BPA Free, Chills Drinks Without Diluting, Washable Fake Ice Cubes for Cocktails, Wine, Beer or Coffee Easy To Use
PREVENT DILUTING DRINKS – How do you keep your drink chilled without diluting its distinctive flavors and aromas?…
As an affiliate, we earn on qualifying purchases.
As an affiliate, we earn on qualifying purchases.
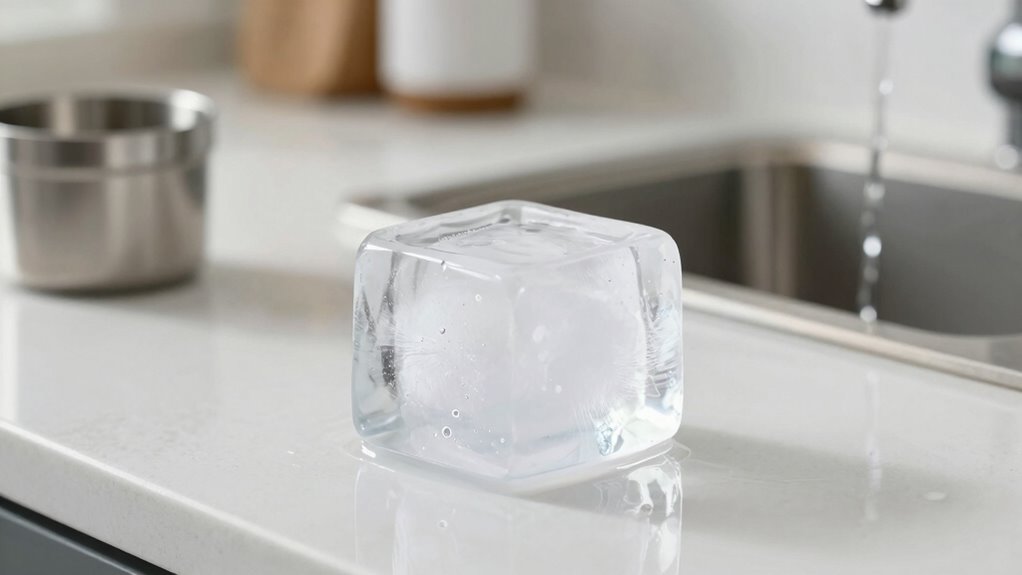
Tips for Perfect, Crystal-Clear Ice Cubes
To get crystal-clear ice cubes, start by boiling water before freezing, as this removes dissolved gases that cause cloudiness. Make sure to minimize air bubbles by pouring slowly and avoiding overfilling your mold. These simple steps can make a noticeable difference in the clarity of your ice. Additionally, using a bike generator can provide a renewable energy source for your ice-making needs, ensuring an eco-friendly approach to your kitchen. Maintaining optimal indoor air quality can also enhance your overall home environment, making it more enjoyable while you savor your perfectly clear ice. Engaging in music therapy can further elevate your mood, making the process of enjoying your clear ice even more delightful. Incorporating glycolic acid into your skincare routine can improve skin texture, complementing your enjoyable ice experience. Understanding the store return policies of your favorite retailers can make shopping more convenient and stress-free.
Use Boiled Water
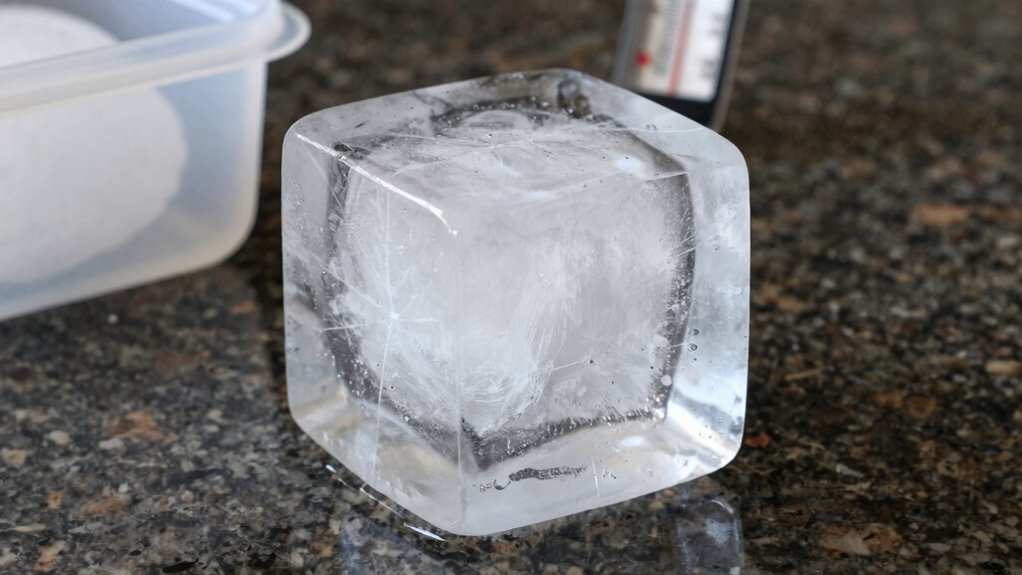
Boiling water before freezing is a simple yet effective method to achieve crystal-clear ice cubes. Boiling reduces impurities and dissolved gases, improving water purity and resulting in clearer ice. Allow the water to cool slightly after boiling to maintain temperature control, preventing rapid freezing that traps air bubbles. Using slightly cooled, boiled water helps minimize air pockets and creates a more uniform, transparent cube. For best results, boil the water multiple times, if needed, to further remove impurities. Keep in mind that the temperature of the water influences how smoothly it freezes; slightly warmer water can freeze more evenly, reducing cloudiness. By focusing on water purity and temperature control, you’ll produce clearer, more aesthetically pleasing ice cubes. Additionally, consider using natural filtration systems to enhance water quality even further.
Minimize Air Bubbles
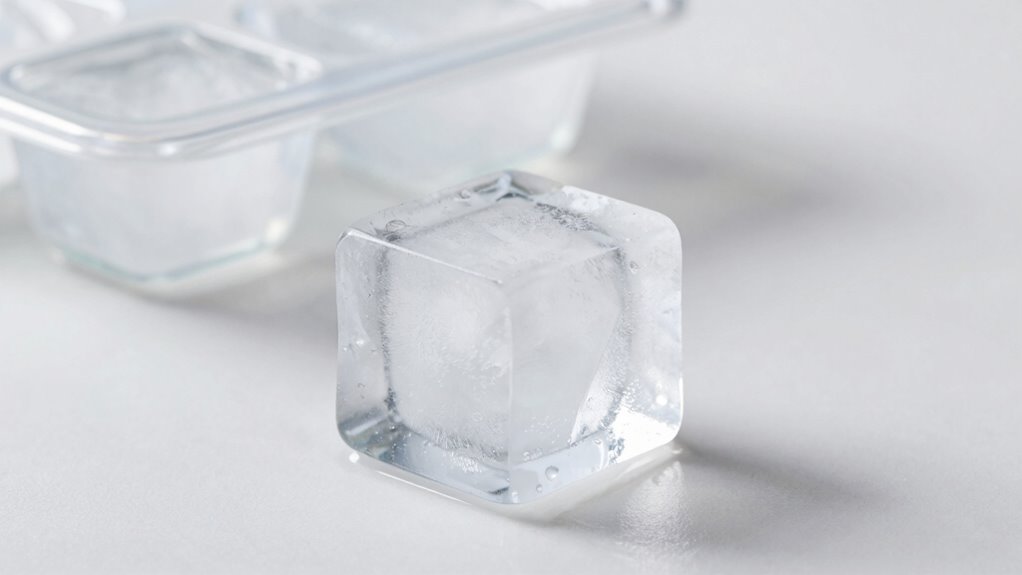
Air bubbles are the main obstacle to achieving perfectly clear ice, but you can minimize them by pouring the water slowly and steadily into the mold. This careful pouring reduces the chance of trapping air, which can create cloudy spots. For better ice shaping and a sleek aesthetic design, consider preheating the mold slightly or using distilled water, as these steps help eliminate residual air. When you pour gently, the water flows smoothly, allowing bubbles to escape before freezing begins. Keeping the pour steady and avoiding agitation, which can introduce more air, is crucial. Additionally, optimizing heart rate variability can enhance your overall recovery process, making it easier to enjoy perfectly clear ice. The result is a crystal-clear, visually appealing ice cube that enhances your drink’s presentation. Minimizing air bubbles ensures your ice looks as good as it functions, elevating the overall aesthetic of your beverage. Furthermore, fostering a growth mindset can further inspire creative approaches to perfecting your ice-making techniques.
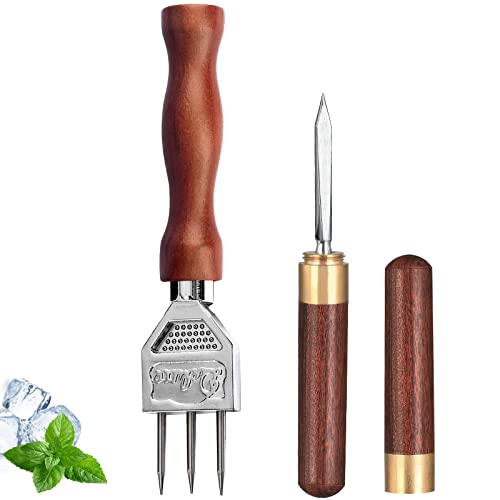
Ice Pick Set of 2 Three Pronged lce Pick, Stainless Steel Ice Pick with non-slip Wood Handle, Durable Carving Bartender Tool(7inch 2pcs)
IDEAL CARVING TOOL – Ice Pick easily chips and breaks up block ice for chilling all types of…
As an affiliate, we earn on qualifying purchases.
As an affiliate, we earn on qualifying purchases.
Common Mistakes That Ruin Your Clear Ice
Sure! Here’s your revised article subheading content with the requested changes:
Using warm water can cause your ice to be cloudy and uneven. Ignoring proper freezing techniques allows impurities and air bubbles to ruin the clarity. Overlooking impurities in your water leads to cloudy, less attractive ice. Additionally, indoor air quality can be affected by the presence of microplastics, which may also influence the clarity of your ice if present in your water supply. Understanding the importance of water efficiency can also help in selecting the best water source for ice-making. Utilizing air fryer accessories to create ice molds can also enhance the clarity and texture of your ice. Moreover, using sulfate-free options for your water filtration can help eliminate additional impurities that may cloud your ice. Remember that maintaining a clean and support network can also contribute to better overall habits in your home, indirectly impacting the quality of your ice.
Using Warm Water
One common mistake that can ruin your clear ice is using warm water instead of cold. Warm water causes uneven freezing, trapping air bubbles and cloudiness that ruin the clarity. For activities like ice sculpting, clear ice is essential to achieve sharp, professional details. In beverage presentation, cloudy ice looks unappealing and diminishes the overall look. Always use cold or even pre-boiled water cooled in the fridge, as this reduces impurities and trapped air. This simple step guarantees a more transparent, pristine block of ice. Warm water accelerates melting and creates cloudy, uneven ice. Taking the time to use cold water results in clearer, more appealing ice that enhances both the visual impact of your ice sculptures and the elegance of your drinks. Additionally, using water that has been filtered for impurity reduction can further enhance the clarity of your ice. Moreover, using safe home products can ensure a cleaner ice-making environment, contributing to the overall quality of the ice.
Ignoring Proper Freezing
Neglecting the proper freezing process is a common mistake that can quickly ruin your clear ice. If you don’t focus on proper freezing, your ice may turn cloudy or develop cracks, ruining its clarity. Proper freezing involves controlling the temperature and freezing direction, allowing impurities and air bubbles to escape. Rushing the process or freezing too quickly traps air and creates cloudiness. Make sure to set your freezer to the right temperature, ideally just above freezing, and avoid moving the ice during freezing. This slow, controlled approach ensures the ice freezes evenly from top to bottom, promoting ice clarity. Overlooking these steps results in uneven, cloudy ice that’s less appealing and less enjoyable in your drinks. Proper freezing is essential for achieving that pristine, clear look.
Overlooking Impurities
Impurities in your water are one of the main reasons your ice turns cloudy instead of crystal clear. Ignoring impurity removal can sabotage your efforts to achieve clarity enhancement. Tap water often contains minerals, dissolved gases, and impurities that create cloudy ice. To improve clarity, you need to start with purified water—filtering, boiling, or using distilled water can substantially reduce impurities. Skipping this step means impurities will get trapped during freezing, causing cloudiness. Also, avoid rushing the freezing process, which can trap air and impurities inside. By focusing on impurity removal, you give yourself a better chance at making clear, beautiful ice. Remember, the cleaner your water, the clearer your ice will be, so don’t overlook this vital step.
How Long Does It Take to Make Clear Ice?
Making clear ice isn’t instant; it typically takes anywhere from 24 to 48 hours, depending on your method and freezer conditions. If you’re aiming for a perfect ice sculpture or large, clear blocks, expect the process to lean closer to 48 hours. Using commercial equipment designed for clarity can speed things up slightly, but patience is key. For smaller, everyday clear ice cubes, 24 hours may suffice, especially if your freezer maintains a consistent temperature. Factors like airflow and temperature fluctuations can extend the process. To achieve the best results, plan ahead and avoid rushing. The longer the slow freeze, the clearer your ice will be, making it ideal for cocktails, presentations, or impressive ice sculptures.
Store and Use Your Clear Ice for Best Results
Once you’ve successfully made your clear ice, proper storage and handling are key to maintaining its quality and appearance. Store your ice in an airtight container or a resealable plastic bag to prevent it from absorbing freezer odors and moisture. Avoid stacking too many cubes at once to prevent cracking or damage. For the best presentation tips, serve your clear ice directly from the freezer, using tongs or a dedicated scoop to keep it pristine. When ready to use, handle the ice gently to avoid cracks and chips. If you need to store it for longer periods, consider wrapping the cubes in plastic wrap or placing them in a sealed container. Proper ice storage guarantees your drinks stay visually appealing and impressively clear.
Frequently Asked Questions
Can I Use Tap Water or Should I Use Filtered Water?
You should use filtered water instead of tap water for clearer ice. Tap water contains impurities that create bubbles and cloudiness, which can hinder flavor enhancement and ice carving. By using filtered water, you get a purer, cleaner ice that melts slower, preserving taste and appearance. Clear ice elevates your drinks and makes your ice carving more impressive, so investing in good water quality makes a noticeable difference in your overall ice quality.
How Do Temperature and Humidity Affect the Freezing Process?
Temperature and humidity profoundly influence the freezing process. When indoor temperatures drop below freezing temperature, your water freezes faster and clearer. Low indoor humidity reduces moisture in the air, preventing cloudiness caused by trapped air bubbles or impurities. Higher humidity can slow freezing and introduce cloudiness. To optimize clarity, keep your environment cool and dry, ensuring consistent freezing conditions that promote smooth, clear ice formation.
Is It Necessary to Boil Water Before Freezing?
Boiling water isn’t always necessary, but it can considerably improve ice clarity. By boiling, you remove impurities and excess air, leading to clearer ice. This simple freezing technique reduces cloudiness caused by trapped gases, giving you stunning, transparent ice cubes. If you’re aiming for perfection, boiling is a quick step that enhances your results. Otherwise, using filtered water and slow freezing can also produce beautiful clear ice without extra effort.
Can I Make Clear Ice in a Standard Freezer?
Yes, you can make clear ice in a standard freezer. To improve ice clarity, use proper freezing techniques like insulating the sides to slow freezing, which encourages impurities to settle. Avoid opening the freezer frequently, and consider using directional freezing methods, such as freezing in a cooler or an insulated container. These techniques help produce clearer ice by controlling the freezing process and minimizing air bubbles.
How Do I Prevent Cloudiness in the Ice?
To prevent cloudiness and achieve perfect ice clarity, you need to focus on removing impurities. Use water filtration to eliminate minerals and debris that cause cloudiness, and pour slowly to prevent air bubbles from forming. Think of it as giving your ice a spa day—purified, calm, and crystal clear! With these steps, you’ll create stunning, transparent ice that looks like it belongs in a fancy cocktail.
Conclusion
With these simple tips, you could turn your kitchen into an ice-making laboratory capable of producing crystal-clear masterpieces faster than you can say “bartender’s dream.” Say goodbye to cloudy, boring ice and hello to jaw-dropping, restaurant-quality cubes that will make your drinks the envy of everyone. In no time, you’ll be creating ice so perfect, it’s practically a work of art—so get ready to impress even the most discerning ice connoisseurs in your life!