
After blending sticky frozen cocktails, rinse your blender immediately with warm water to remove residues. Fill it halfway with warm water and dish soap, then blend for 30 seconds to loosen sticky spots. For stubborn residue, sprinkle baking soda or use vinegar to dissolve and scrub away buildup. Disassemble removable parts and clean all surfaces thoroughly. To keep your blender spotless and functioning well, follow these steps and explore more tips below.
Key Takeaways
- Rinse the blender immediately with warm water to remove surface residues.
- Blend warm water and dish soap for 30 seconds to loosen sticky buildup.
- Use baking soda to scrub stubborn spots gently, avoiding scratches.
- Fill with equal parts water and vinegar, then blend to dissolve mineral deposits and residues.
- Disassemble removable parts and clean all components thoroughly with warm, soapy water.

2-in-1 Detachable Blender Cleaning Brush for Vitamix & Ninja, Dual-Head Bottle Brush for Juicer, Cup Lid, Meat Grinder & Kitchen Appliances, Long-Handled Food-Grade Bristles for Deep Crevice Clean
【2-in-1 Blender & Deep Cup Cleaning Brush】 Integrates a regular cup brush and an interchangeable gap brush, usable…
As an affiliate, we earn on qualifying purchases.
As an affiliate, we earn on qualifying purchases.
Gather Supplies to Clean Your Blender After Frozen Cocktails
After you’ve enjoyed your frozen cocktails, it’s important to gather the right supplies to clean your blender effectively. Proper blender maintenance starts with having everything on hand—warm water, dish soap, a sponge or brush, and a towel. You might also want a small bowl for ingredient substitutions if you plan to rinse with vinegar or baking soda for extra cleaning power. To enhance the cleaning process, consider using eco-friendly solutions that are gentle on your appliances. Remember that essential DIY tools can make the cleaning process smoother and more efficient. Incorporating music therapy techniques, like playing calming music while you clean, can also help make the task more enjoyable. Keep a microfiber cloth nearby for drying. Having these supplies ready makes the cleaning process faster and more thorough. Inclusive casting in your cleaning routine can ensure that you’re addressing different materials and surfaces effectively. If you’re concerned about stubborn residues, consider using a gentle scrub brush. Preparing your cleaning tools beforehand guarantees you won’t miss any spots and helps keep your blender in top shape, ready for your next frozen drink. Additionally, maintaining a high contrast ratio in your blender’s cleaning routine can prevent buildup that affects its performance.

Silicone Blender Spatula, Slim Blade Scraper Accessory Designed for Blender Blades1
Versatile Everyday Tool – Whether you have a blender or food processor, this narrow spatula is the right…
As an affiliate, we earn on qualifying purchases.
As an affiliate, we earn on qualifying purchases.
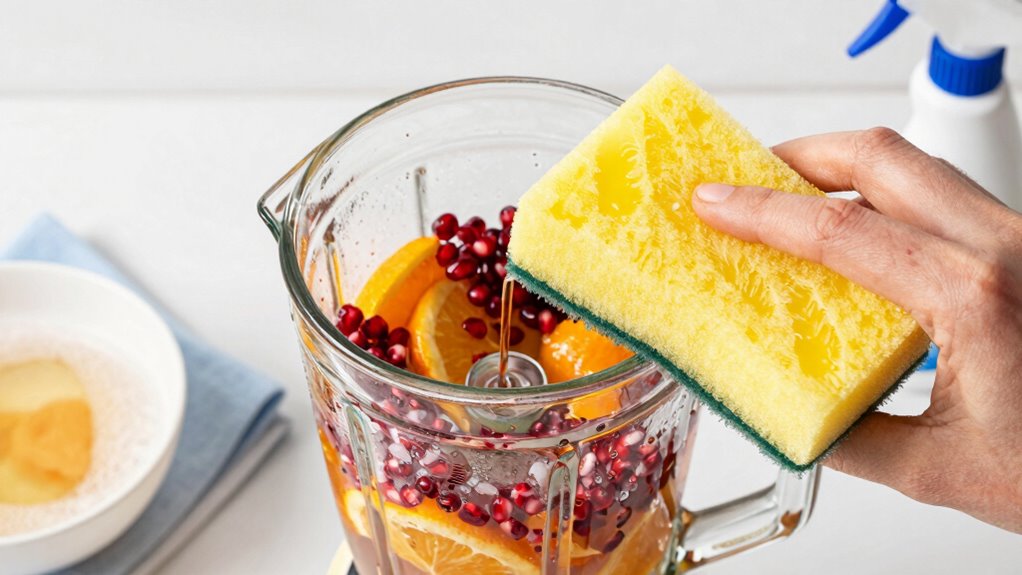
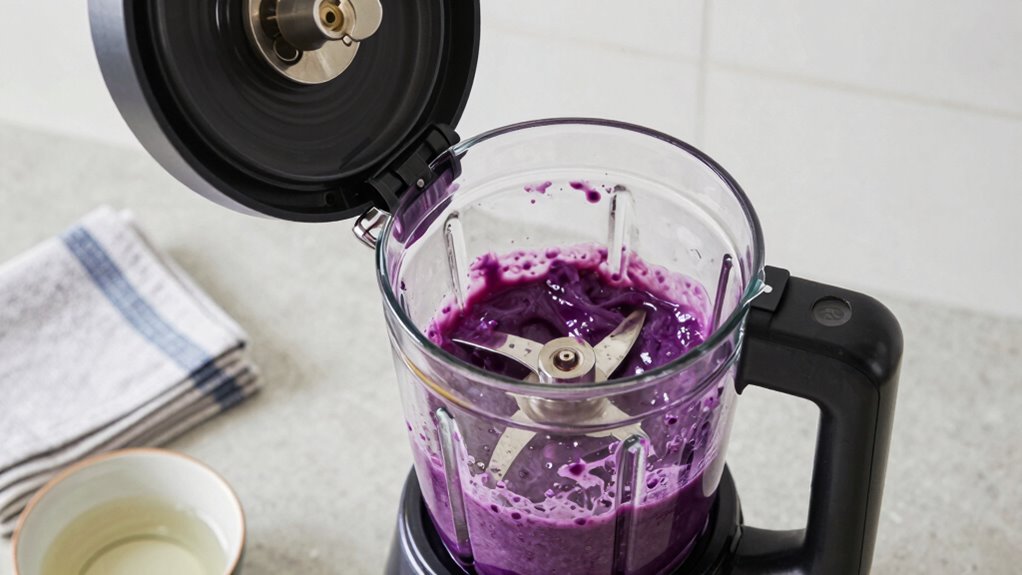
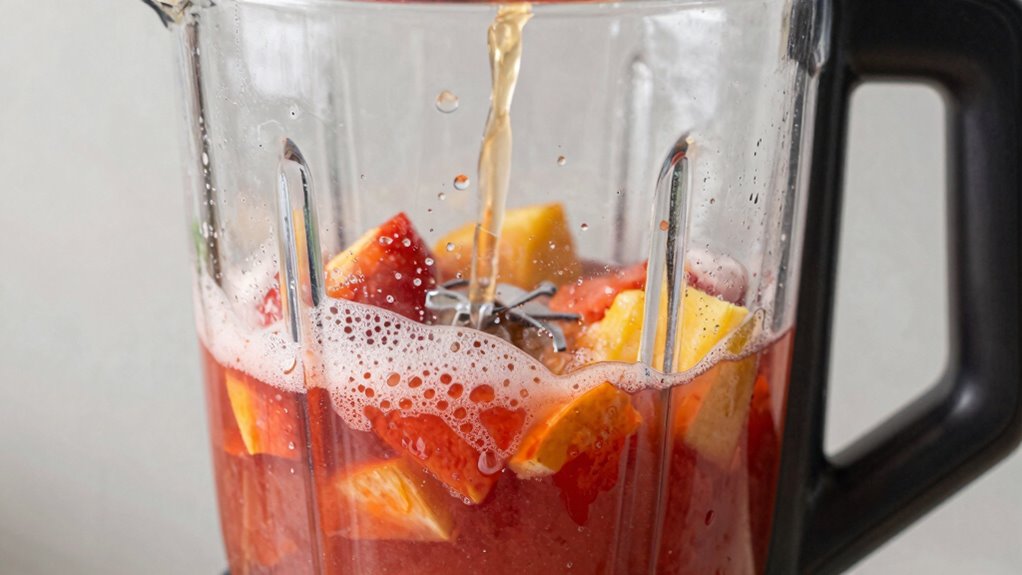
Rinse and Soak Your Blender Immediately After Use

To prevent residues from drying and becoming more difficult to remove, it’s vital to rinse and soak your blender immediately after use. Proper blender maintenance starts with a quick rinse to wash away leftover frozen cocktail remnants. Fill the blender halfway with warm water and a few drops of dish soap, then blend for 30 seconds. This process loosens and lifts stubborn residue, making residue removal easier later. Additionally, using a styling cream can help maintain the blender’s performance by ensuring all residue is effectively removed. Soaking the blender parts right after use prevents sticky buildup and reduces scrubbing time. If you notice any stubborn spots, let the components soak for a few minutes before scrubbing. Immediate rinsing and soaking keep your blender clean, prolong its lifespan, and ensure it’s always ready for your next frozen cocktail. Additionally, using the right cleaning tools and methods can enhance your blender’s performance over time, contributing to a better experience when using trusted resources for kitchen maintenance. Understanding economic transitions can also provide insight into how technology affects everyday tasks, such as maintaining kitchen appliances. Regular cleaning helps maintain optimal filtration and suction, which is essential for efficient appliance performance.

Scotch-Brite Odor Resist Soap Control Dishwand Brush, 1 Cleaning Dish Wand Brush, Precise Soap Control, Leak-Free Guarantee, Safe on Dishes, Nonstick Cookware, Tubs
ONE SCRUBBING DISHWAND: One package of Scotch-Brite Soap Control Dishwand; one pack contains one scrubbing wand.
As an affiliate, we earn on qualifying purchases.
As an affiliate, we earn on qualifying purchases.
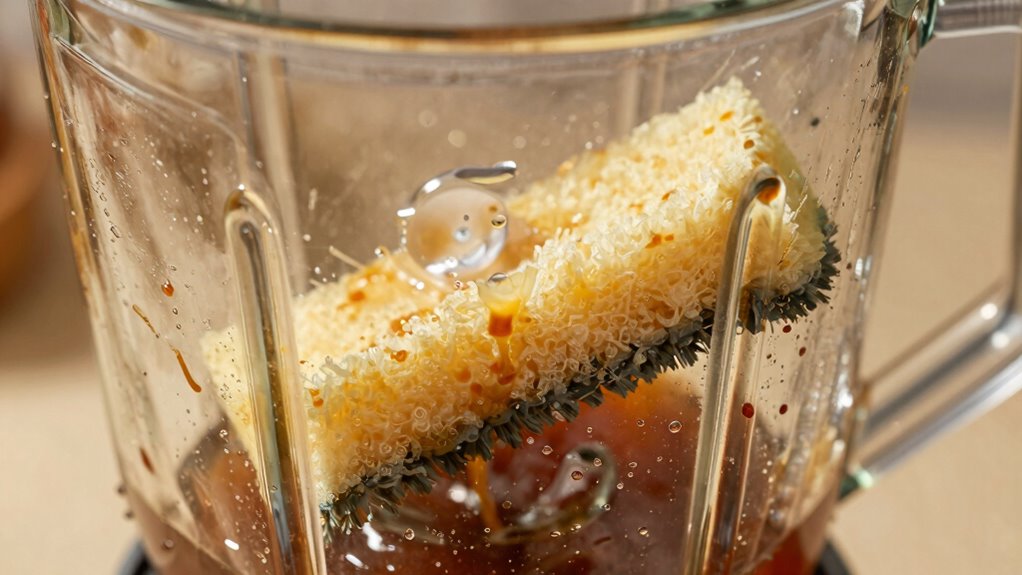
Use Baking Soda or Vinegar to Break Down Sticky Residue
Baking soda’s abrasive power helps scrub away stubborn residue without scratching your blender. Vinegar‘s acidity can break down sticky build-up and dissolve mineral deposits effectively. Using either of these natural cleaners can make your blender sparkle again. Additionally, maintaining a clean blender is essential for optimal car protection and ensuring the longevity of your kitchen appliances. Regular cleaning can also enhance the engine performance of your appliances by preventing buildup that could hinder their function. A well-maintained appliance can also improve heat efficiency during cooking, making your culinary tasks more enjoyable. Regular maintenance of kitchen appliances, like blenders, can also help ensure the best results when using professional hair color brands. Furthermore, regular cleaning can prevent skin texture issues in your kitchen environment, as a clean blender ensures no residue affects your food preparation.
Baking Soda’s Abrasive Power
Ever wonder how to tackle stubborn residue stuck inside your blender? Baking soda’s abrasive power makes it a great choice for breaking down sticky buildup. When you sprinkle baking soda into the blender and add a little water, it creates a gentle scrub that lifts residue without scratching the surface. Its coarse texture helps dislodge stubborn bits of frozen cocktail remnants, making cleaning easier. Use a soft sponge or brush to scrub gently, focusing on the areas with the most buildup. The abrasive power of baking soda works effectively without damaging your blender’s interior. After scrubbing, let it sit for a few minutes before rinsing thoroughly. This simple method guarantees your blender stays clean, fresh, and ready for your next frozen drink.
Vinegar’s Acidic Effect
Vinegar’s natural acidity makes it an effective weapon against sticky residue inside your blender. Its acidity breaks down sugar and fruit pulp without damaging your appliance or affecting flavor preservation. To use vinegar effectively:
- Fill your blender with equal parts water and white vinegar.
- Blend for 30 seconds to loosen stubborn residue.
- Rinse thoroughly with warm water to remove any vinegar scent.
This method not only cleans but also deodorizes your blender, leaving it fresh. Vinegar’s acidity targets sticky buildup without harsh chemicals, making it a safe choice for frequent cleaning. Additionally, ethical consumerism encourages the use of sustainable cleaning methods that benefit the environment. Using effective cleaning methods can further enhance your cleaning efficiency. Plus, it helps maintain the integrity of your blender’s components, ensuring longevity and ideal performance. Regular cleaning promotes work-life harmony, allowing you to enjoy your kitchen without lingering messes. Additionally, cold sensation can enhance your overall cleaning experience, especially when dealing with sticky substances. Use vinegar regularly to keep your blender spotless and ready for the next frozen cocktail. Additionally, utilizing natural cleaning agents can enhance your overall cleaning routine while being environmentally friendly.

Haosie Blender Open Wrench Tool, Stainless Steel Mixing Cup Blade Wrench, Blender Blade Fixed Replacement, Disassemble The Blade from Jar Mixer Accessories
【Multifunction】Blender blade opening tool, can be used to remove fixing plates and blade assembly, save labor, suitable for…
As an affiliate, we earn on qualifying purchases.
As an affiliate, we earn on qualifying purchases.
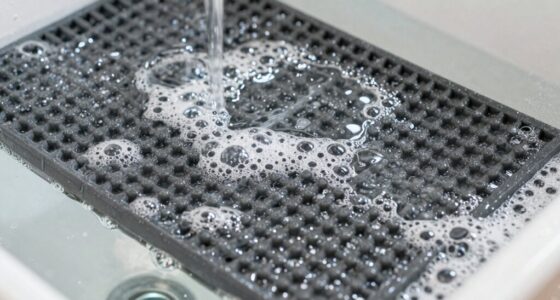
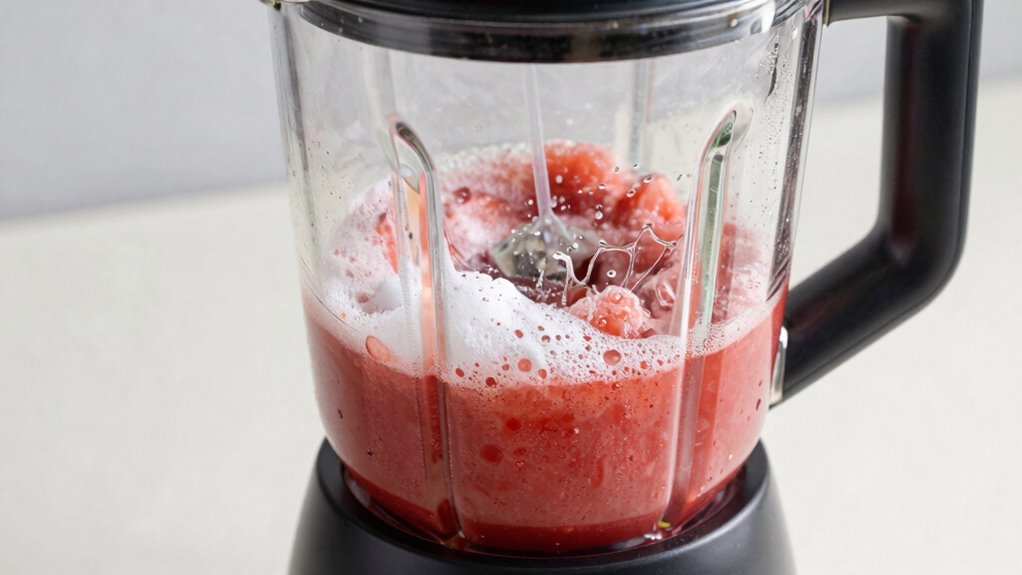
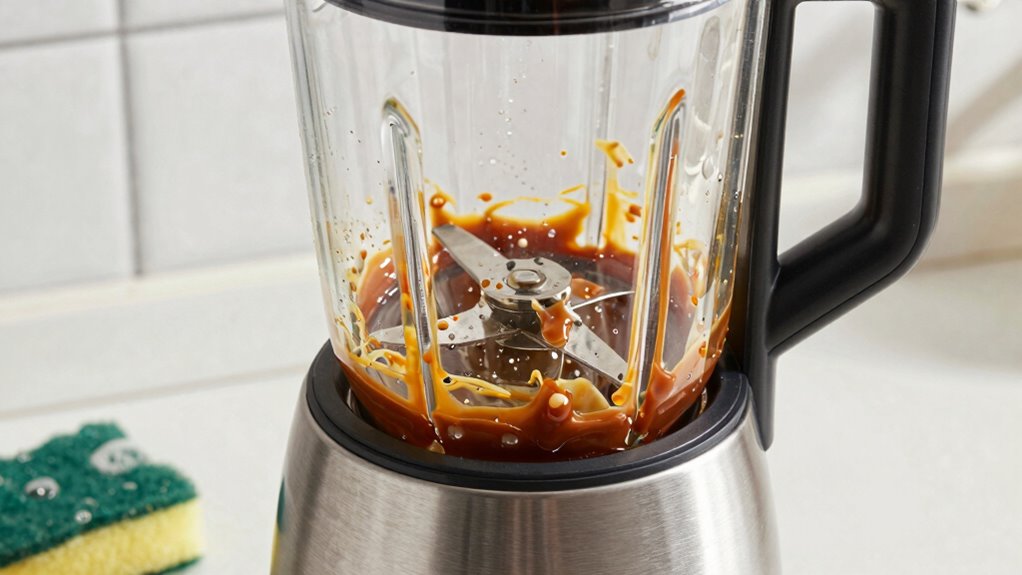
Run a Warm Water and Dish Soap Cycle to Clean the Blender
Using warm water and dish soap is essential for a thorough clean, but make certain the water isn’t too hot to avoid damaging the blender. As you run the cycle, ensure the soap is evenly distributed to loosen any remaining residue. This step helps leave your blender spotless and ready for its next use. Additionally, experimenting with content formats can enhance the performance of your cleaning routine by ensuring that all components are well-maintained. Regularly maintaining your blender can significantly improve its longevity and cooking performance. It’s also important to recognize early detection methods for issues that may arise with your blender, ensuring it operates efficiently for years to come. Moreover, just as astrological compatibility may enhance interpersonal attraction, keeping your blender clean can improve its overall functionality and effectiveness in the kitchen.
Proper Water Temperature
Have you considered how the water temperature affects your blender’s cleanliness? Using the *best* temperature *assures* effective cleaning without damaging your equipment. When running a warm water and dish soap cycle, aim for water that’s comfortably warm—not scalding hot or too cold. Here’s what to keep in mind:
- Use water around 100°F (38°C), which is ideal for dissolving grease and sticky residues.
- Avoid boiling water, as it may warp or damage plastic components.
- Test the water temperature before starting; it should feel warm but not uncomfortable.
Maintaining the proper water temperature *guarantees* your blender gets thoroughly cleaned, removing stubborn residues while preserving its longevity.
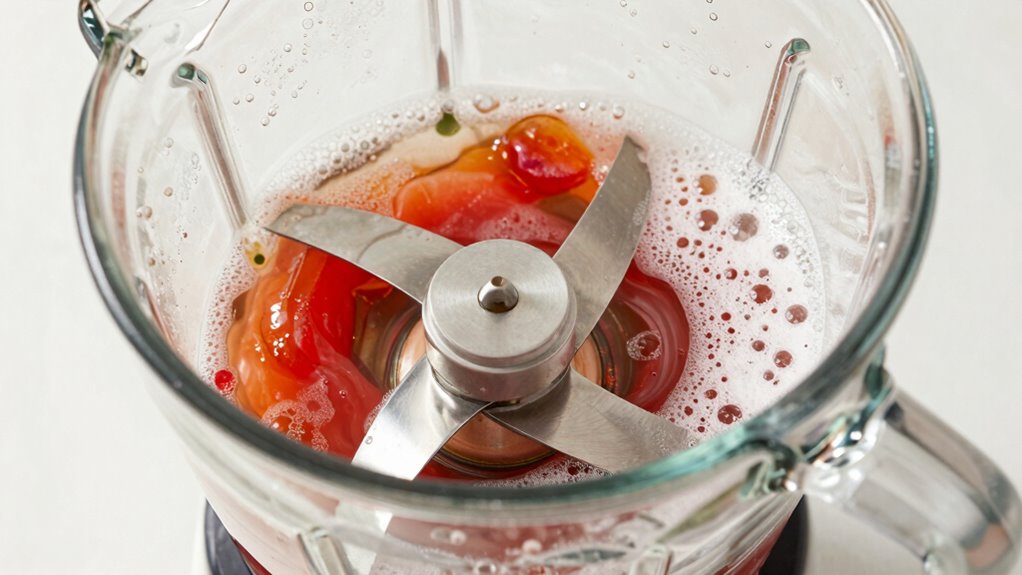
Effective Soap Distribution
To guarantee your blender is thoroughly cleaned, it’s essential to distribute the soap evenly throughout the container. Fill the blender halfway with warm water and add a few drops of dish soap. Turn on the blender and run it for about 30 seconds. This action promotes soap distribution, making sure all surfaces come into contact with the cleaning solution. The movement helps loosen sticky residues and spreads the dish soap uniformly. After the cycle, stop the blender and pour out the soapy water. This step assures the soap reaches every nook and cranny, making the subsequent rinsing more effective. Proper soap distribution is key to a deep clean, especially after sticky frozen cocktails, leaving your blender fresh and ready for your next use.
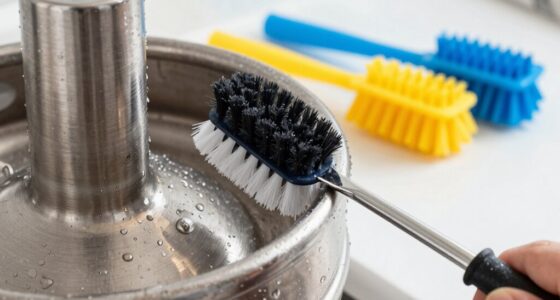
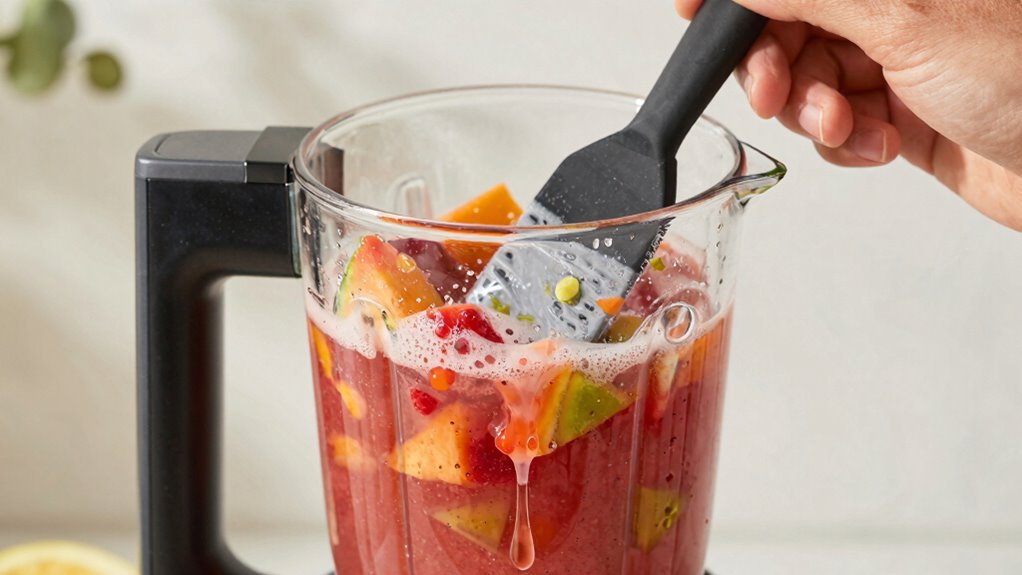
Scrub Tough Spots With a Soft Brush or Sponge
Sometimes, stubborn spots in your blender can be tricky to remove with just rinsing. To tackle these, use a soft brush or sponge to focus on texture removal and stain elimination. First, gently scrub the interior with a soft brush to loosen stuck-on residue, paying special attention to corners and crevices. Second, dip your sponge in warm soapy water, then wipe away any remaining sticky patches or discoloration. Third, for persistent stains, apply a mixture of baking soda and water to the spots, then scrub lightly with the brush. This approach helps break down sticky residues while protecting the blender’s surface. Remember, gentle scrubbing is key to avoiding damage while ensuring your blender is spotless and ready for its next use.
Clean the Blender Lid, Gasket, and Base Separately
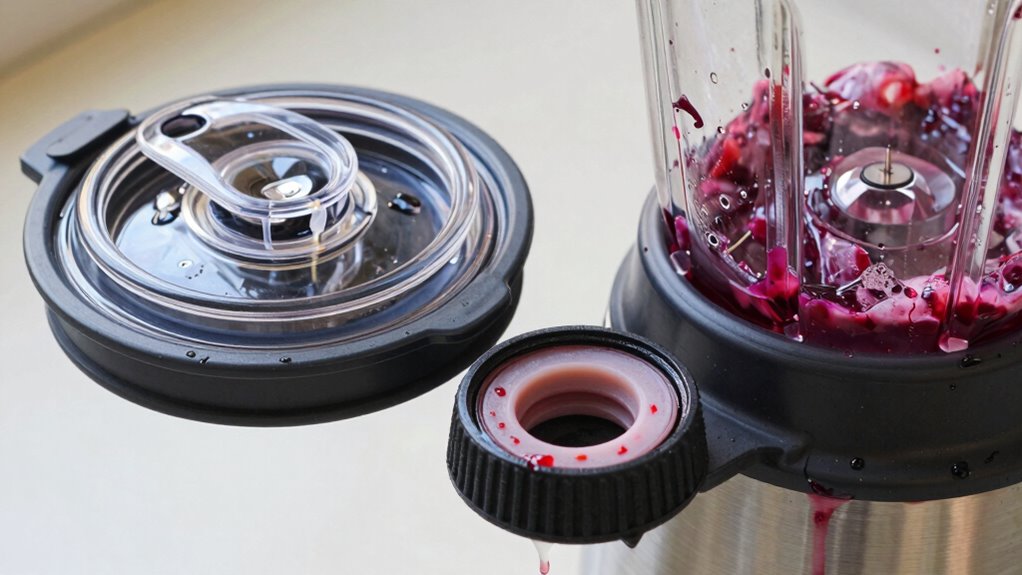
Cleaning the blender lid, gasket, and base separately guarantees that all parts are thoroughly sanitized and free of residue. For proper blender maintenance and ideal kitchen hygiene, disassemble these components carefully. Wash the lid and gasket with warm, soapy water, paying close attention to crevices where sticky residues can hide. Use a soft brush or sponge to reach tight spots. The blender base should be wiped down with a damp cloth; avoid submerging it in water to prevent damage. Removing and cleaning each part ensures no sticky leftover remains, which could harbor bacteria or affect performance. Regularly cleaning these parts helps maintain your blender’s longevity and keeps your kitchen hygienic after enjoying sticky frozen cocktails.
Tips to Prevent Sticky Residue in Future Frozen Drinks
Preventing sticky residue in your frozen drinks starts with mindful ingredient choices and preparation techniques. To keep your blender in top shape and avoid stubborn buildup, follow these frozen drink tips:
- Use less sugary liquids or dilute syrups with water to reduce stickiness.
- Rinse the blender immediately after use to prevent residue from drying and hardening.
- Regularly perform blender maintenance by deep-cleaning with warm, soapy water and avoiding harsh abrasives.
These steps help prevent sticky buildup and make cleaning easier later. Incorporating good habits into your frozen drink routine ensures your blender stays clean and functions smoothly. Consistent maintenance and thoughtful ingredient choices save time and extend your blender’s lifespan, making every frozen cocktail a breeze to prepare and clean up afterward.
Troubleshooting Sticky Residue That Won’t Come Off
When sticky residue stubbornly refuses to come off your blender, it can be frustrating, but the problem often stems from residue that has hardened over time or from using ingredients that leave a sticky film. To tackle this, try running hot water and a few drops of dish soap through the blender, then blend for a minute. If that doesn’t work, add a mixture of baking soda and vinegar, which helps break down stubborn residue. Also, consider your ingredient preparation—sometimes, overly thick or sticky ingredients, used for flavor customization, can cling more stubbornly. Ensuring proper ingredient preparation and cleaning promptly after blending helps prevent this issue. Persistent residue may require a more thorough scrub with a brush or soaking with warm, soapy water.
FAQs: How Often Should You Clean Your Blender?
Most people should plan to clean their blender after every few uses, especially if they blend ingredients like dairy, fruits, or sticky substances. Regular blender maintenance prevents buildup and keeps it functioning smoothly. How often you clean depends on your blending habits:
Clean your blender regularly to prevent buildup and keep it functioning smoothly.
- After every use, if you blend sticky or dairy-rich ingredients.
- Weekly, if you mainly use ingredient alternatives like nuts or vegetables.
- Immediately if you notice any lingering odors or residue.
Cleaning frequently ensures your blender stays fresh and efficient. It also makes it easier to remove stubborn residue and prevents bacterial growth. If you prefer, you can switch ingredient alternatives to reduce sticky messes, but regular cleaning remains crucial. Staying consistent with your cleaning routine keeps your blender in top shape and simplifies your overall blender maintenance.
Frequently Asked Questions
Can I Use a Dishwasher to Clean My Blender After Sticky Cocktails?
You can put your blender in the dishwasher, but it’s better to wash the ice crusher and lid by hand first. Sticky frozen cocktails leave residue that might not come off easily in the dishwasher. Remove the lid and ice crusher, then soak them in warm soapy water. Use a brush to clean any stuck spots. This guarantees your blender is thoroughly clean and ready for next time.
What Natural Cleaning Alternatives Work Best for Stubborn Residue?
Sure, natural remedies are your best friends for stubborn residue removal. You might think vinegar or lemon juice are too simple, but they actually cut through sticky messes with ease. Just blend a mixture of equal parts water and vinegar or squeeze lemon into the blender, run it for a minute, and rinse. Who knew that nature’s little helpers could conquer your toughest residue?
How Do I Prevent Mold Growth in My Blender?
To prevent mold growth in your blender, you should regularly clean it and keep it dry. Use cleaning tips like running hot water and soap after each use, especially with sticky or wet ingredients. Leave the lid off to allow airflow and prevent moisture buildup. Additionally, occasionally disinfect with vinegar or baking soda. Proper mold prevention involves consistent cleaning and thorough drying, ensuring your blender stays fresh and safe to use.
Is It Safe to Use Bleach to Clean a Blender?
Using bleach to clean your blender isn’t the safest choice, especially considering chemical safety. Think of it like using a sledgehammer to crack a nut—overkill and potentially hazardous. Instead, opt for warm water and dish soap or vinegar, which are effective for household cleaning and safer for your appliances. Always rinse thoroughly to avoid lingering chemicals that could contaminate your food or drinks.
How Do I Clean a Blender With Delicate or Special Materials?
You should use delicate material care and special cleaning techniques when cleaning a blender with sensitive or special materials. Avoid harsh chemicals or abrasive scrubbers that can damage the surface. Instead, fill the blender with warm water and a small amount of gentle dish soap, then blend briefly. Rinse thoroughly with clean water and dry with a soft cloth. This approach guarantees your delicate materials stay intact and clean.
Conclusion
To keep your blender spotless and ready for your next frozen cocktail, regular cleaning is key. Skipping a quick rinse might seem harmless, but sticky residue can build up and become stubborn over time—like a stubborn stain on your favorite shirt. Take a few minutes to clean immediately after blending, and you’ll enjoy smooth, delicious drinks without the hassle of stubborn cleanup. A clean blender makes every sip even more satisfying, so stay consistent and enjoy your vibrant, fresh creations.